At Casey and Jordan’s gender reveal party I was talking to Keeli who mentioned to me about a photography workshop going on that I might be interested in. I got my new camera back late last year and have basically still been in “auto” mode with it. Manual mode is INTIMIDATING guys!!! I never, ever, wanted to be one of “those moms” with a fancy camera but who didn’t know how to properly use it. The timing was perfect for the workshop and I’m SO glad Keeli recommended it to me!!! It was put on by Red Fly Studio on a Saturday morning in Thomasville. The description of the class literally said “to help you get out of auto mode” Um. That is EXACTLY what I was wanting 🙂
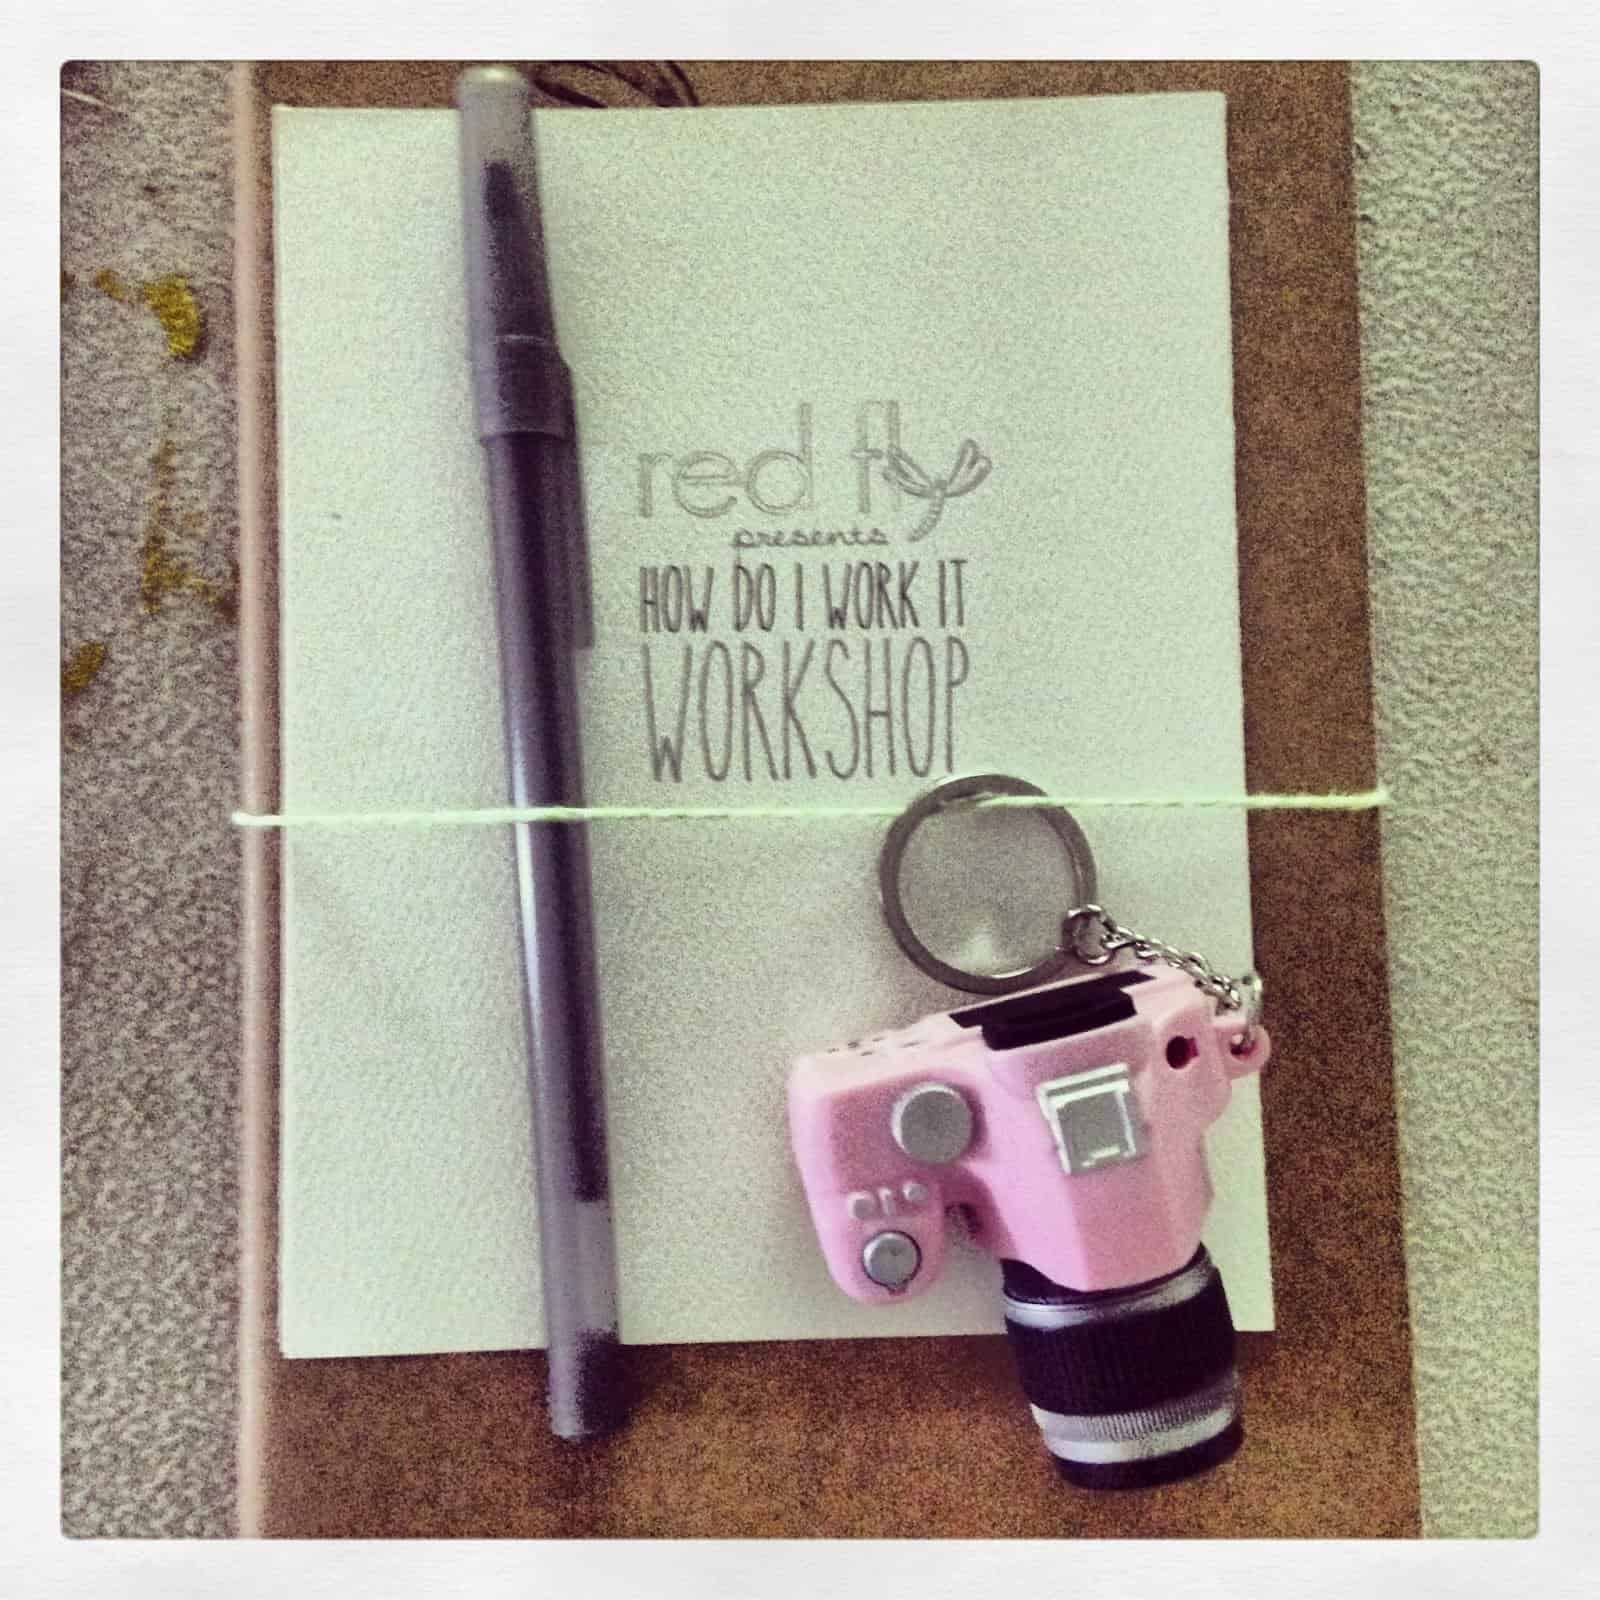
I LOVE that when I got there they already had a little journal and pen (and that cute camera keychain!) set out for us. I am a read-write-recite type learner so I took a LOT of notes and wanted to share them here! Not only so it may help some of you who are also wanting to get out of the “auto mode” but really so I can easily look it up without having to dig out my notebook every time 😉 My notes are short and brief. And I went into the class with a goal in mind: KEEP IT SIMPLE. I knew manual would be overwhelming and I refused to let myself feel overwhelmed or stressed out about it. So my notes reflect that goal and aren’t very detailed. 🙂
Mode Types:
- landscape mode – best for large groups of people when outdoors
- macro mode – close items with details
- portait mode – STILL subject!
- night time mode – great to use for Christmas tree
- program mode – camera will help decide the shutter speed and aperature
- AV mode – I select aperture, camera decides ISO and shutter speed
- TV mode – I pick the shudder speed and camera selects ISO and aperture
- When in doubt of which mode to use…it’s best to put it in AV mode as that is still better than auto!!!
Manual Mode:
- shutter speed – how long to take photo
- aperture – how much will be in focus from the subject to the background
- ISO – cameras sensitivity to light
Shutter Speed:
- it’s measured in TIME.
- how long the shutter is open
- measures in fractions of a second
- faster speed freezes motion (1/1000) but lets in less light (so you’ll want to be outside)
- slow speed blurs movement (1/25) but lets in more light (good to use when inside a darker room)
- camera shake: you do NOT want your shutter speed slower than the lens length.
- Example: When using my 50 mm lends I don’t want the bottom number to be lower than 50.
- When using the 18-200 lens it’s tricker bc that bottom number needs to stay equal or higher than where you are zoomed into lens length.
- long shutter speeds let in more ambient light (night time with lights)
- short speeds let in less light (beach or lamp illuminating subject while everything else is dark)
- Example: for a sleeping baby or a very still subject you would want 1/60-1/125
Aperture and Depth of Field
- depth of field – how much is in focus from front to back
- If shutter is the “time the hole is open” then aperture is “how big the hole is” to let in light
- Compares to your eyes! Go in the dark room and pupils get bigger (wider aperture), go outside and eyes need less light so pupil is smaller (smaller aperture).
- Small = outside
- Large = inside
- wider aperture: more light, less in focus, ONE subject, smaller number
- smaller aperture: less light, more in focus, many subjects, bigger number
- Example: f/2.5 is best for when child is being still….f/4-f/11 for when child is moving
- keep it simple! JUST worry about the number! Smaller number puts subject in focus and puts more blur around the subject 🙂
- I really need to buy a small external flash to put on top of my camera. Aim it at the ceiling when inside and it will bounce off the white of the ceiling.
- if I do need to use flash, it’s best to use it in AV mode!!!!
ISO
- sensitivity to light
- higher number means it’s more sensitive to light. Darker the room, the higher the number needs to be.
- this should be the FIRST setting I change!!!!
- outside = lower number
- best to keep around 400 if possible
- this helps having to use the flash inside…use a higher number ISO and flash may not be needed 🙂
Light
- different times of the day provide a different light source
- a trick to look for the light is to hold up hand outside and see where the shadows are. Your “palm” is your “face” and you want your palm covered in shadows 🙂
- you ALWAYS want the sun at the subjects BACK!
- golden hours: sunrise and the two hours following…sunset and the two hours prior
- check the naval website to see exact timing of sunrise and sunset
- if there is bright green grass always have people sit on a blanket, especially a light colored one like tan.
- you always want to bounce the flash off of something
- if it’s super sunny outside then find a spot with shade like an open porch or a tree etc. You want to put the subject about three feet away from the shadows.
- so when I take pics on my porch it’s better not to have kids sit at the door but rather at the step where the porch starts
- always take the TIME to move JUNK from the image if possible (toys, mess, etc)
Rule of Thirds
- goal is to basically always have the subject be off center.
- this got more complicated than I wanted to be so I didn’t take a lot of notes on it 😉
Cropping
- try never to crop at hands or feet or basically anywhere that the body bends!
AF Points
- these are the little dots that show up when I go to take a photo. in manual mode, I can reposition them!!!
- always, always have the dots on the eyes of the subject.
- this was the BIGGEST help to me more than anything else!!! Game changer b/c prior to the class I didn’t know I could change the positioning of the dots and it drove me nuts.
The class was several hours long and they had some awesome snacks provided for us. I LOVED the teacher and felt very, very comfortable asking any questions. I also loved that it was a small group of people in the class and we all talked and compared notes and it just felt very relaxed and zero percent intimidating!
After we went over everything they helped us individually with our cameras and then we took some shots of a volunteer model! I felt awkward about that just because I am not a photographer nor do I want to be one so I didn’t really like taking my turn to take pics. I did a turn once maybe? And then just kinda shot randomly when other people were taking their turns. I think having us practice was a BIG help! We learned ALL this new info and seeing it in real life made a big impact on me!
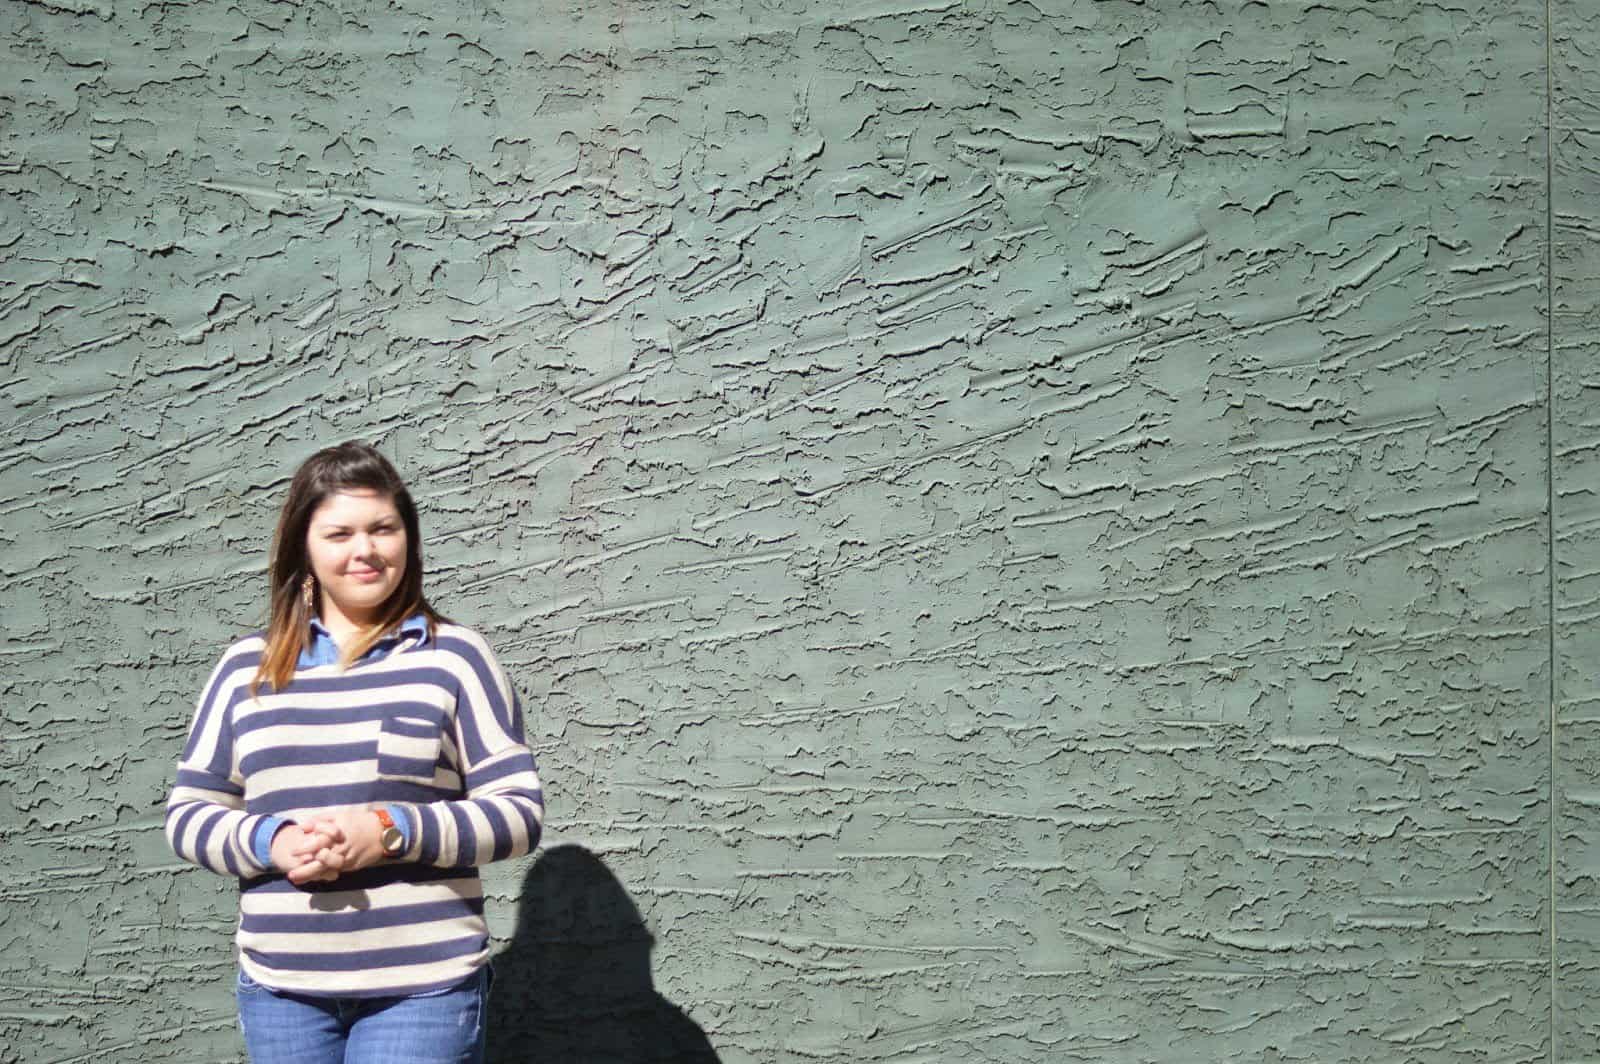
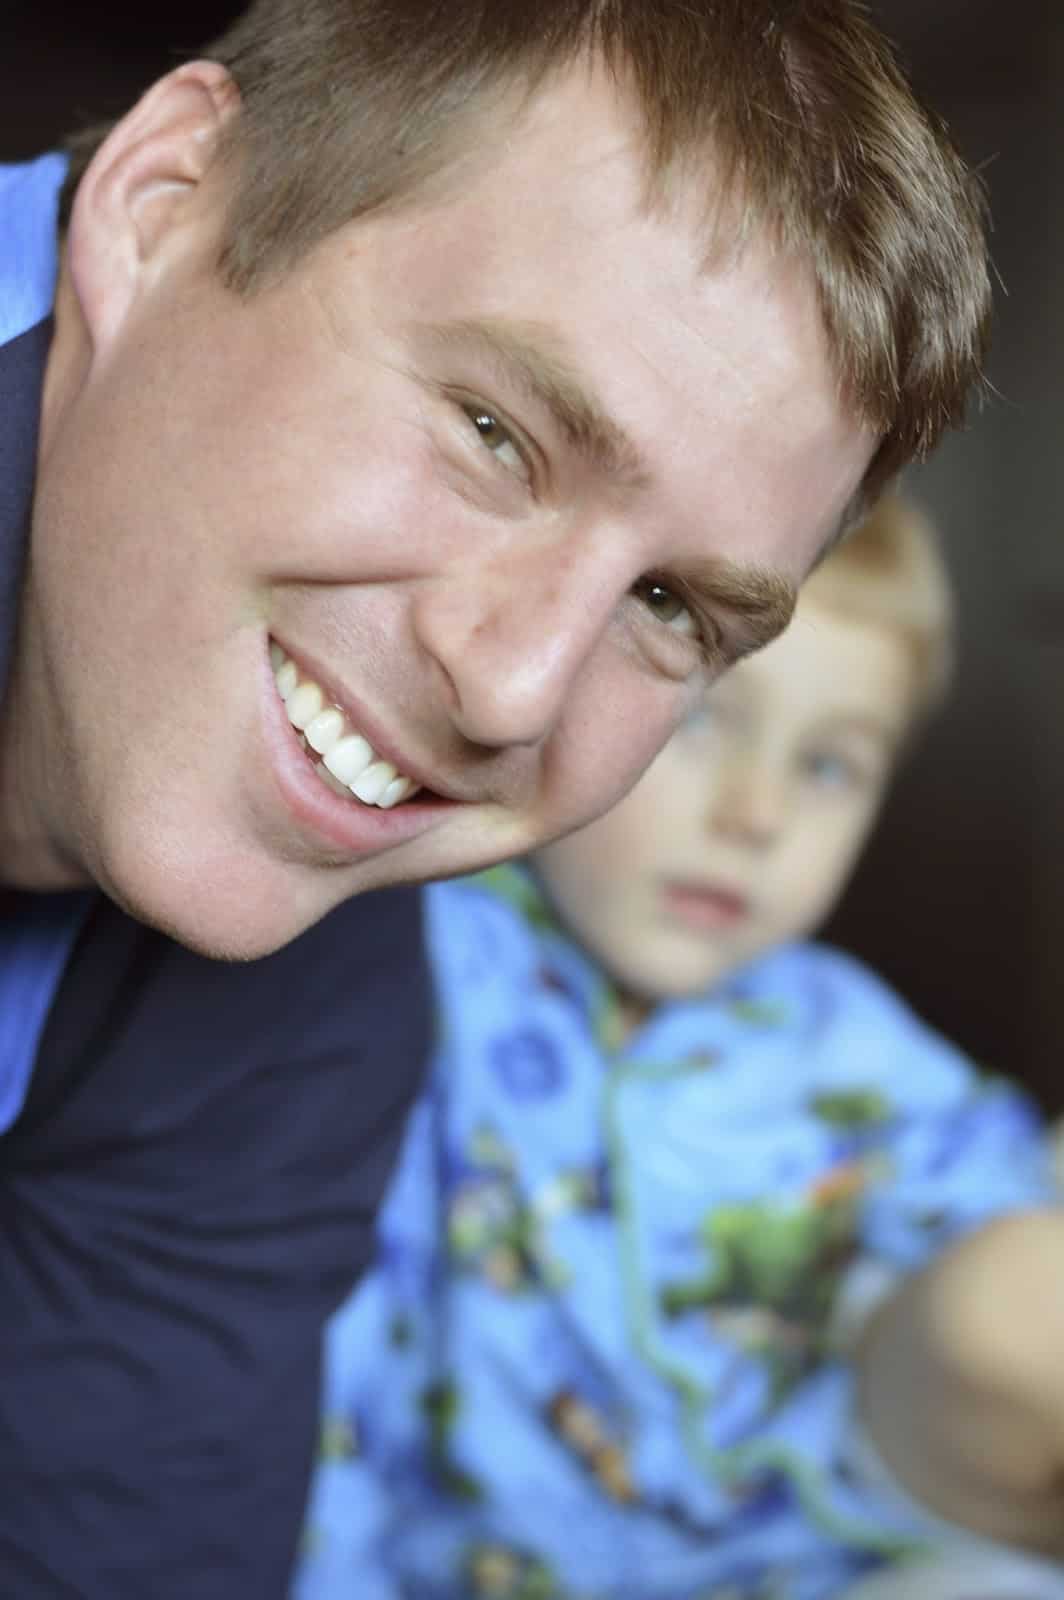
Sun behind back, blurred in background 🙂
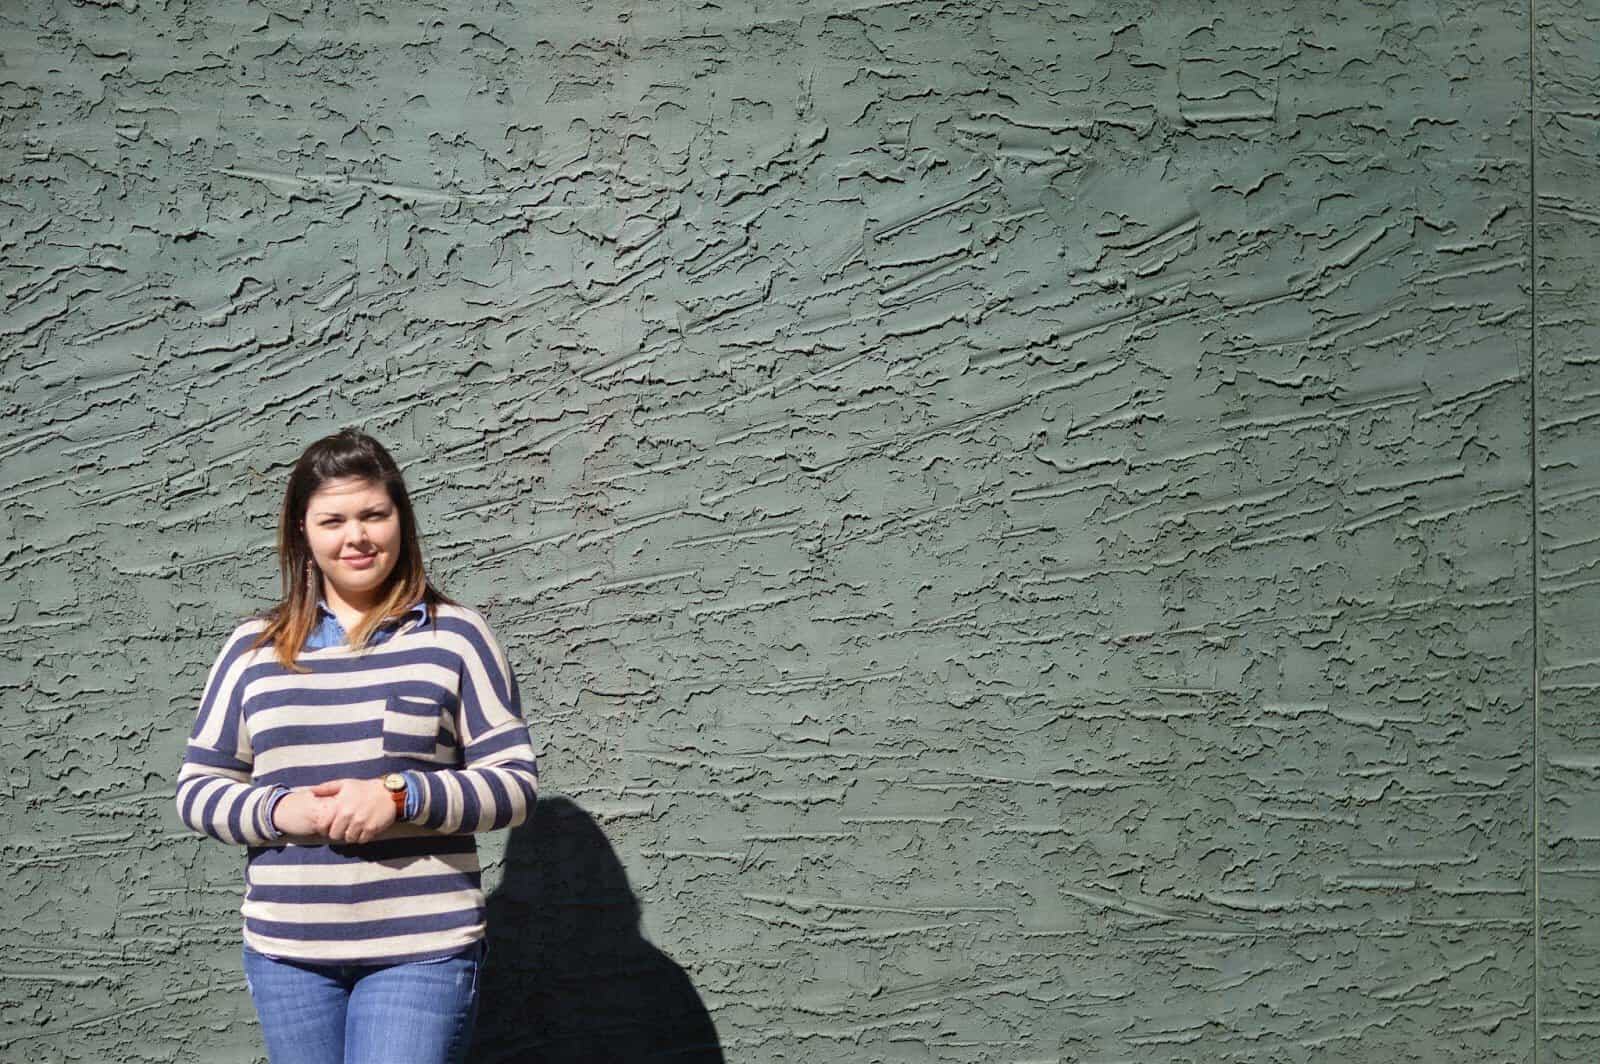
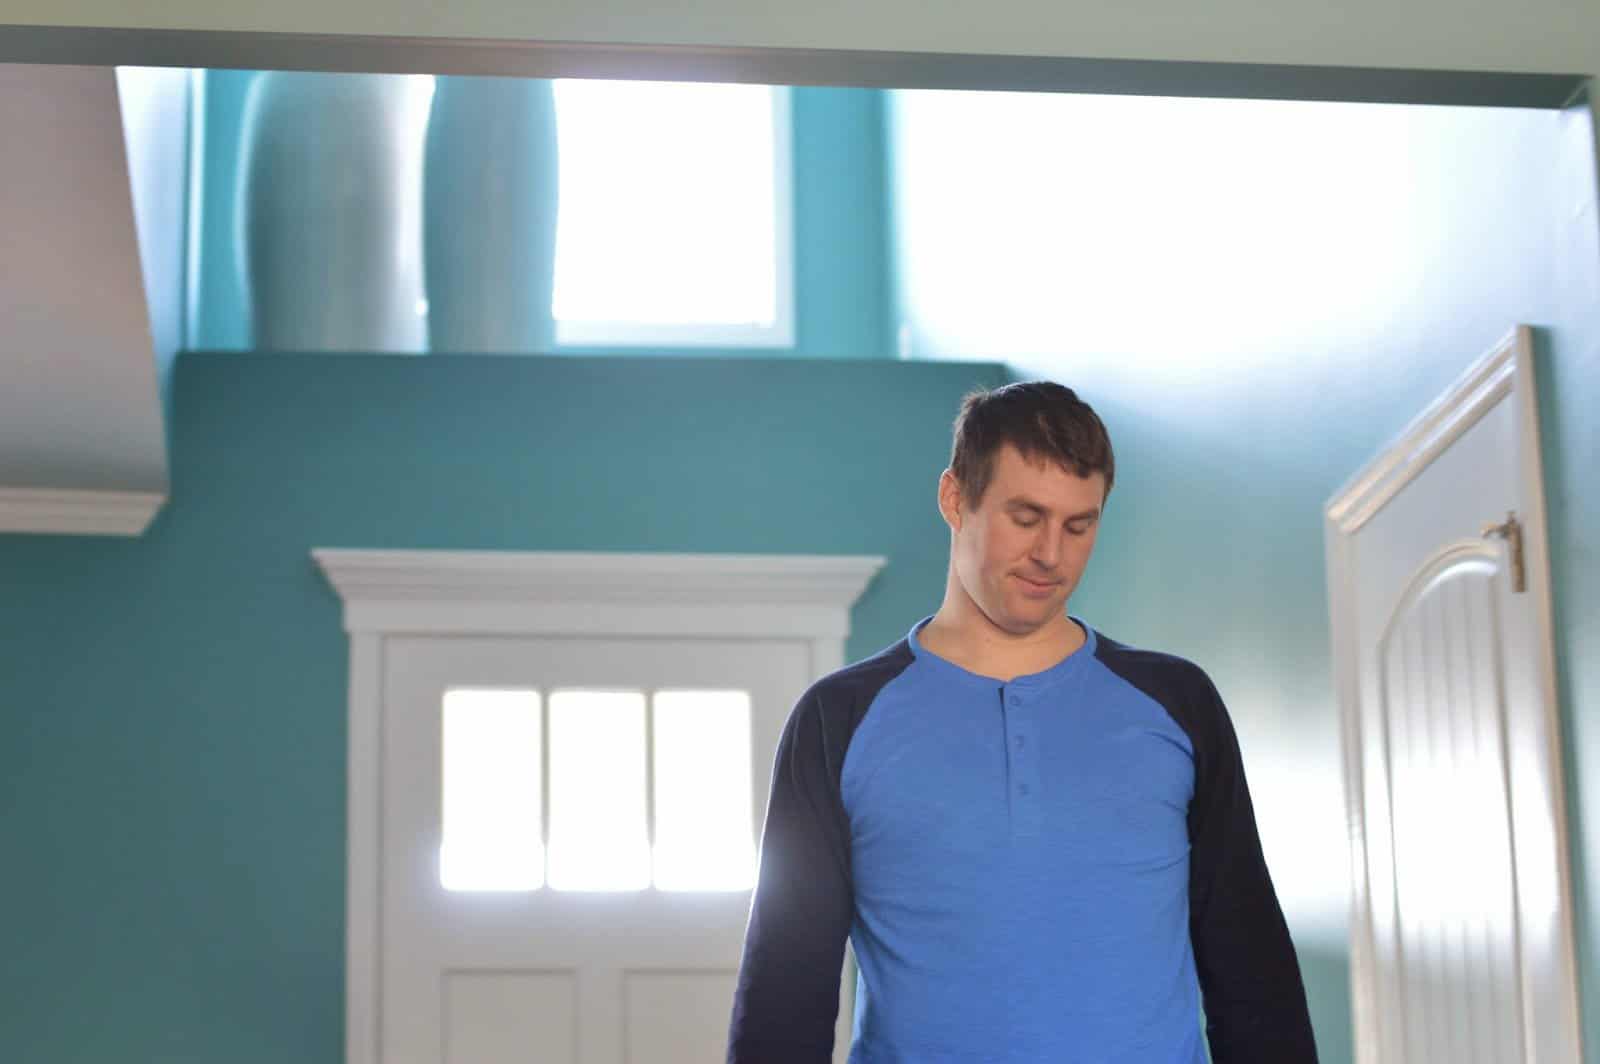
These two show how some small changes in settings can help…First one she looks too washed out and second one is clearer.
I really and truly LOVED the class! I used the money I had spent on my Justin Timberlake ticket (and then couldn’t go and had to sell it…remember?) to be able to go to the class. I mean it may not have been quite as awesome as I’m sure JT was…but it was knowledge I really am thankful to have!!!
When I got home I got to practicing some and could instantly tell a difference in my images. Using the 50 lens is the EASIEST to do in manual mode for sure because I don’t have to worry about the whole camera shake concern issue and I can easily change the settings while not dealing with any zoom.
While I still have ZERO desire to be any type of professional photographer or anything, I do feel a lot more confident and have been slowly getting better and better at manual mode. I’m no longer intimidated by it and think the class is exactly what I needed! They actually did go into a good bit more than what I wrote in my notes…but towards the end I began to feel myself get a little overwhelmed so I just stopped writing and stopped over thinking it. I wanted to keep it simple for myself and keep it basic so I’d be able to apply it all in real life. With two small kids I don’t have TIME to think about my images. I need to be able to do it quickly. I’m getting better and better at changing things fast but I love how they also told us that when in doubt auto mode is better than missing the moment. So I keep that in mind and am sure to switch it to auto when I am afraid to miss something!!!
I also was the WINNER of a photoshop package!!! It made me laugh b/c here I am the girl who doesn’t want to get overwhelmed and I win the photoshop haha. I haven’t even opened the box yet as I KNOW that will be too much at once for me. Right now I’m simply keeping the focus on my practicing with my camera and I will eventually get more into photoshop (I mean the program has a feature to make you thinner…I WILL be needing that junk postpartum for sure!).
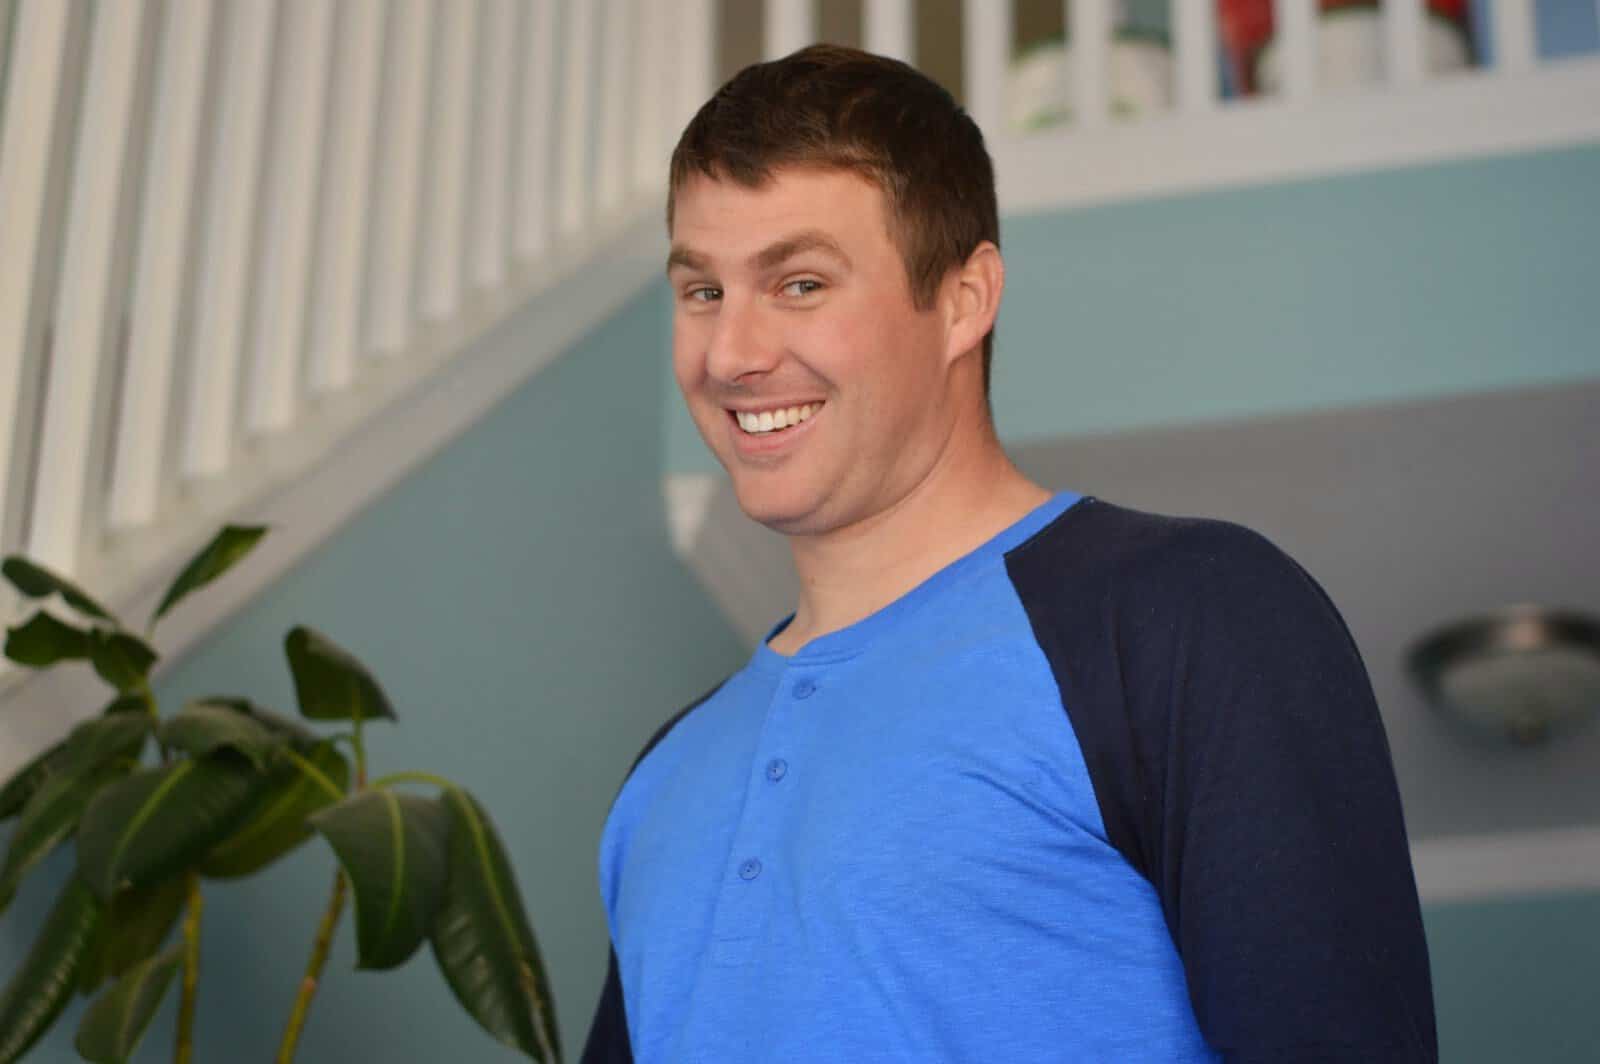
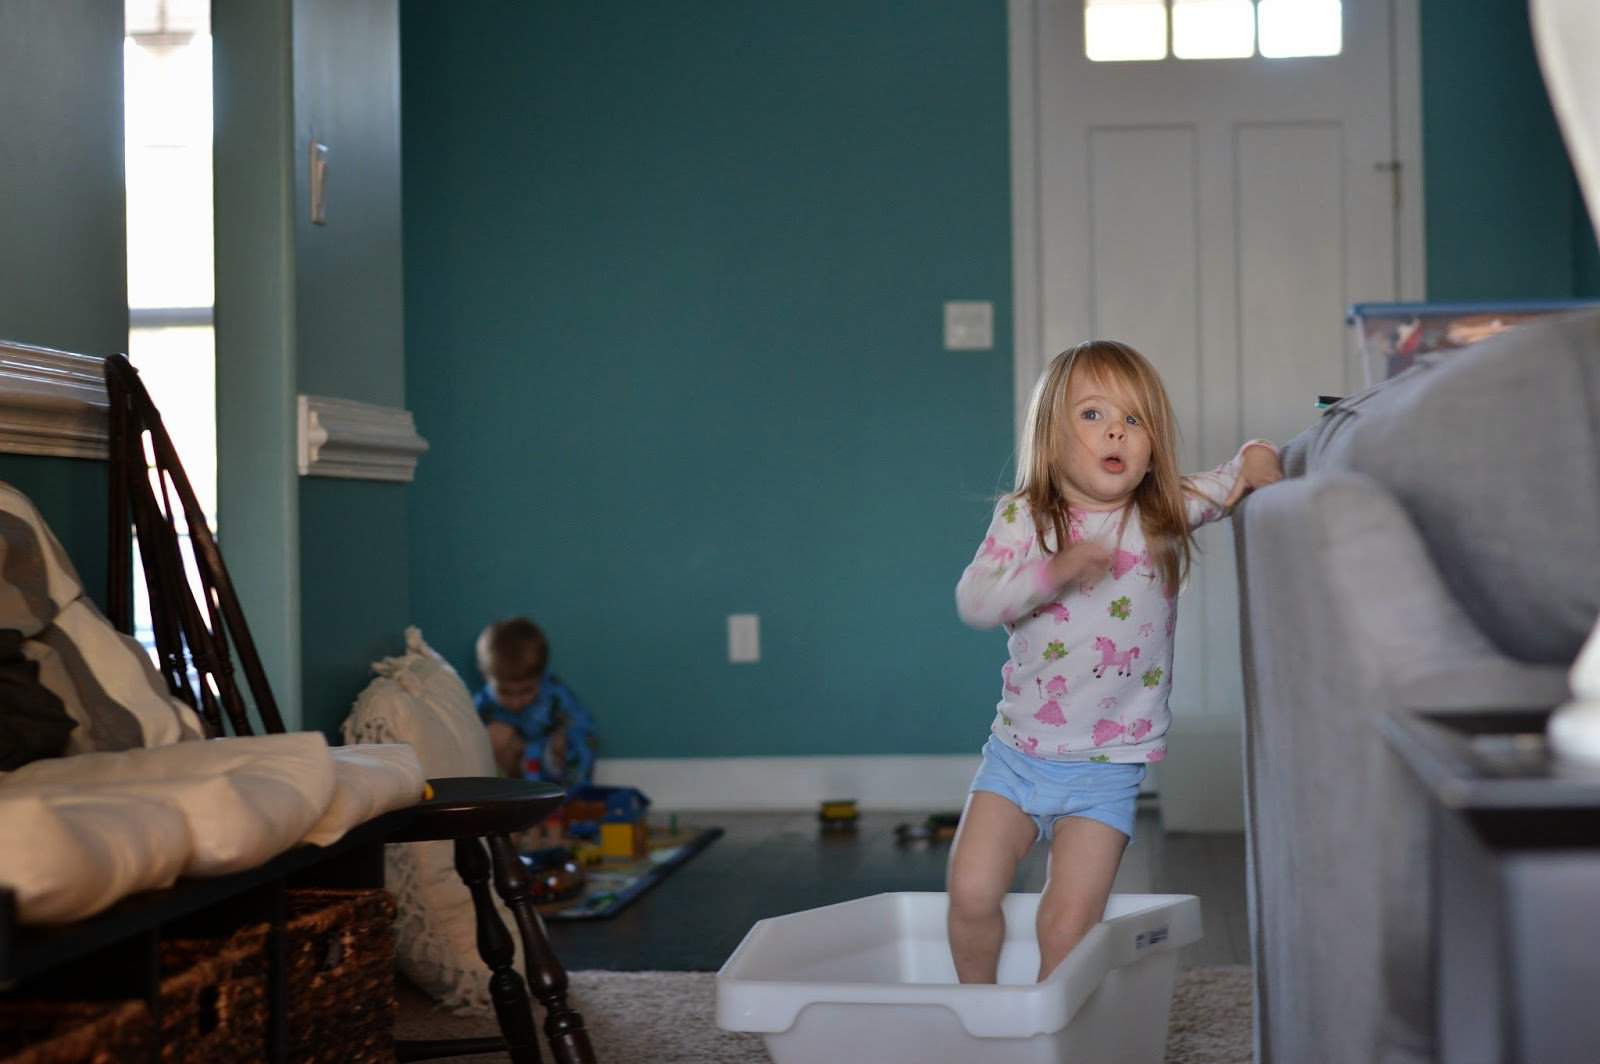
Here are some of the practice shots I took when I got home 🙂 Zach and Zeke being my most still subjects haha!


Big thanks again to Keeli for recommending the course and to Red Fly Studio for hosting it!!! I hope some of my notes help others to get out of auto mode…but if you have questions…you may not want to ask me haha. I literally read my notes on a daily basis to remind myself what to do and I would probably only confuse you more! If you have a class offered close to you, I highly recommend taking one!!! It was a great experience!!!